Updates on The Dauntless

Updates on The Dauntless

Postby L. DaVinci » Thu Mar 13, 2008 2:46 pm

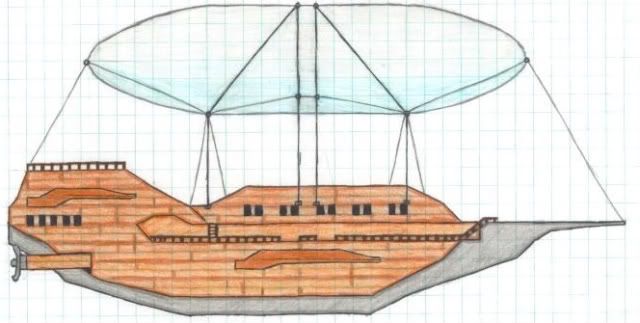
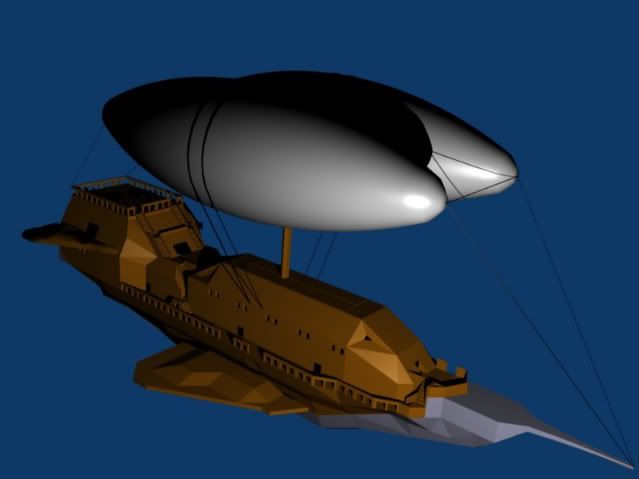
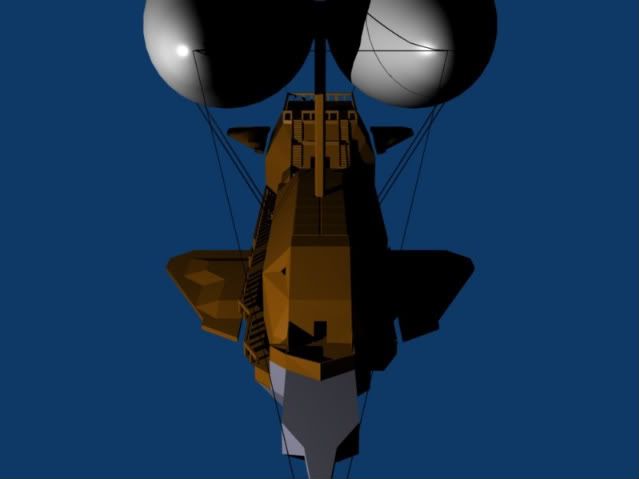
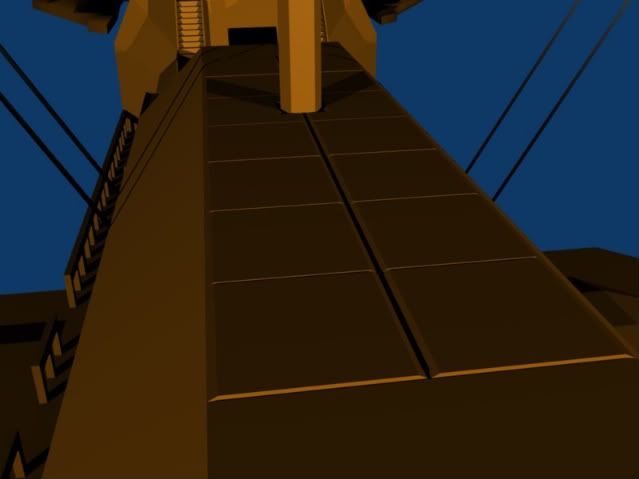
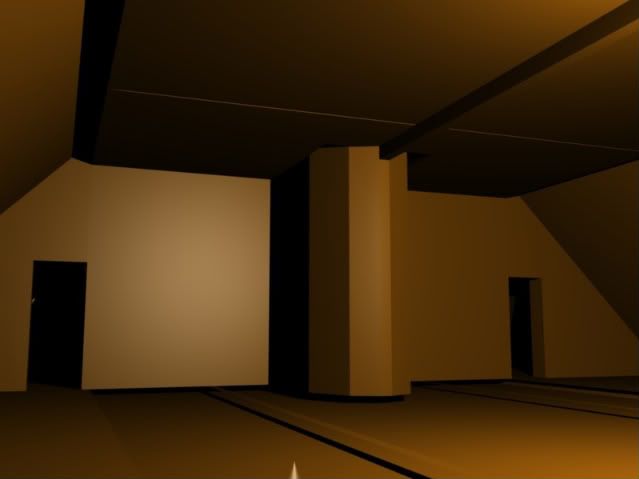
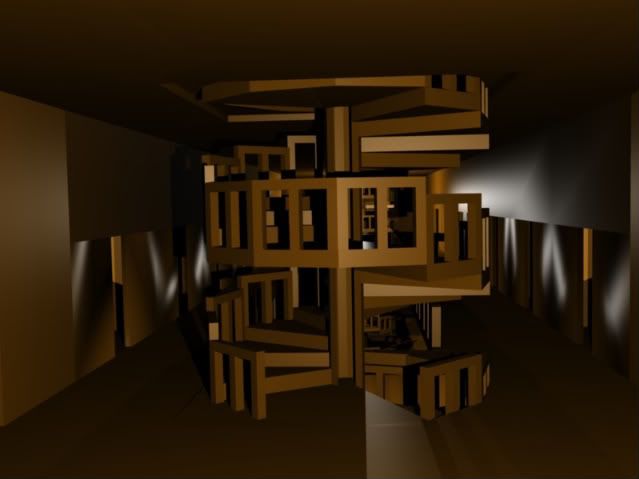
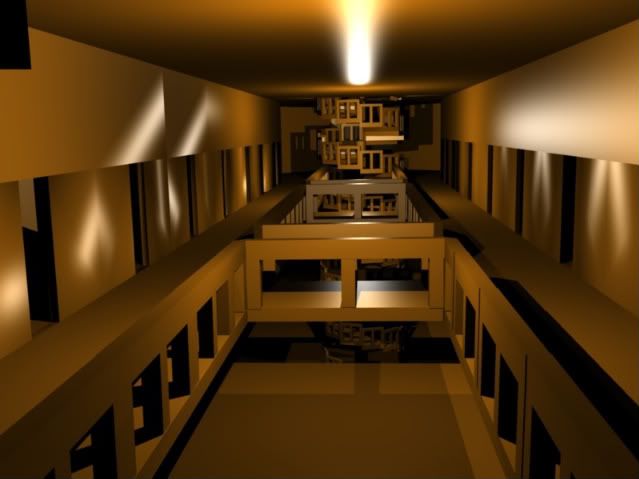
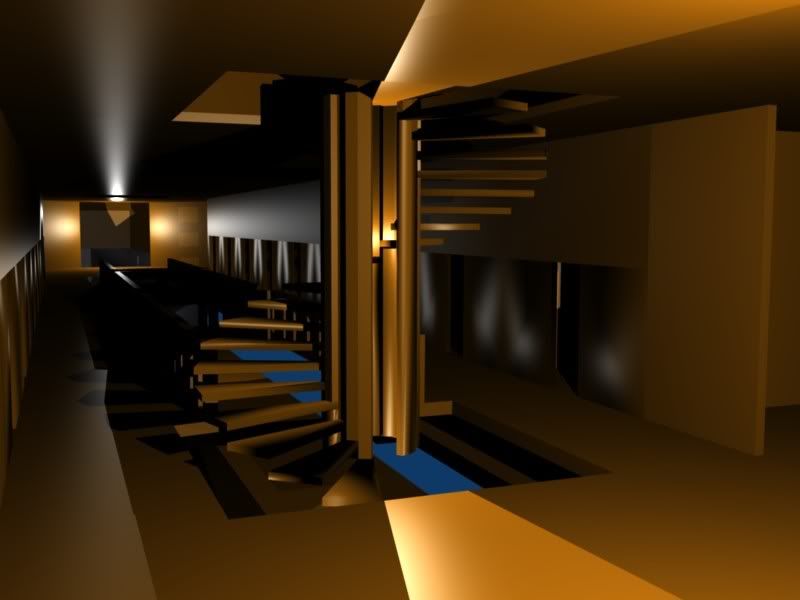
It's been about two weeks since I've posted anything about the Q-bert work that I was doing, but needless to say I've put that project down for a little while to work on something much bigger. So, I dug up an old drawing of an airship that I created about 8 years ago, and decided to try and model it on blender. As I went back and forth between the drawing and the modeling, I learned that sometimes you have to make adjustments in the model that don't quite reflect the exact dimensions of the drawing... or something like that. Anyway, I've nearly finished the outer shell of the ship, and thought I would put up a few screenshots of it. I'm already starting to work on the inside of the ship. Already, I am working on the inside of the cargo deck which is the first deck on the front of the vessel. I'm also thinking about turning it into an age of sorts, but only Time will tell how this turns out during it's progression. I've posted a picture of the orignal color drawing of The Dauntless, as well as a couple of screenshots.
Show Spoiler


More as it develops,
DaVinci.
Last edited by L. DaVinci on Wed Mar 26, 2008 12:04 am, edited 1 time in total.
Image
L. DaVinci
 
Posts: 41
Joined: Mon Feb 04, 2008 11:43 pm
Location: Arlington, Texas

Inside the Dauntless, Part I

Postby L. DaVinci » Wed Mar 26, 2008 12:02 am

Today, I'm going to take you inside the Dauntless to show you some of the construction progress being made. We'll start by going through the cargo holds which are located here.
Show Spoiler

You may notice that these panels on top of the ship are slightly indented. These are the cargo doors that open up the holds so that crates can be removed and stored for transport. Let's take a look inside one of these holding areas.
Show Spoiler

As you can see, there is plenty of space here to store cargo, valuable goods, among other types of crates. These cargo holds can easily be converted for other uses as well. Let's go downstairs to the next deck.
Show Spoiler

There are two sprial staircases located in the front and center areas of the vessel. They extend from the cargo deck all the way down into the engineering decks. Let's move on.
Show Spoiler

Down this hall, we have the crew quarters. As construction continues, you will be able to have an open view of the next deck below.

This is just a glimpse of what it will look like when construction is completed. As you can see, there is still plenty of work to be done. Hope you have enjoyed this short tour, and I will be showing you more as work progresses. See you later.

Your fellow writer and explorer,
DaVinci.
Image
L. DaVinci
 
Posts: 41
Joined: Mon Feb 04, 2008 11:43 pm
Location: Arlington, Texas

Re: Updates on The Dauntless

Postby Grogyan » Wed Mar 26, 2008 12:14 am

How did you make the spiral staircase?
Better to have loved and lost than never to have loved at all
User avatar
Grogyan
 
Posts: 1203
Joined: Thu Oct 11, 2007 1:27 am

Re: Updates on The Dauntless

Postby L. DaVinci » Wed Mar 26, 2008 12:30 am

Well, it actually started as I was learning to make stairs. Extruding edges and vertices with a .01 or .1 drop in the z axis, and it takes 10 steps up or down to fill a single blender unit, or something like that. Anyway, learning this, I added a circle plane, giving it 12 segments, 10 for the steps and two for the entry level on to the deck. I extruded the individual faces, one at a time, down on the Z axis. Starting with the first one, I lowered it by .1, then the next one was .2, and .3, .4.. and so on. When I finally finished modeling how I wanted it to look, I placed it inside the ship where I wanted it, and then duplicated the rest of the stairshaft. Turns out that I had to put two of them into that space to make it work out. I'm actually considering rebuilding the staircase so that it it only goes around once per deck. To do this, I would simply start with the circle plane again, except this time I would have to use 22 segments, maybe 24, since it takes 20 steps to get from one deck to the next. Anyhow, I hope that helps.. personally, my staircase looks too blocky for my taste, but I'm sure I will find a way to improve it later on.

DaVinci.
Image
L. DaVinci
 
Posts: 41
Joined: Mon Feb 04, 2008 11:43 pm
Location: Arlington, Texas

Re: Updates on The Dauntless

Postby pappou » Wed Mar 26, 2008 3:06 am

Very nice, Leo. I've been admiring the good lines of your airship, waiting to see when Captain Nemo would show up.

Glad you were getting nervous about your circular stair proportions. If your treads are 6” high, then measure how tall a person would be to clear the steps above. I guess a 4 foot midget might have to bend a little.
That's the thing about circular stairs. You have to have excessively high treads to get proper headroom – or use a very large diameter central shaft.
With a pipe as the central stanchion you would have 8 treads only. And that would mean risers 8.5 inches high to make head room of 7 feet.
If you want easier treads you have to get an internal diameter of about 4 feet or more – with treads sticking out beyond that.

Otherwise, its truly elegant work Leo.

And thats my lesson for the day in circler stairs. Also, your railings are a bit thick. However, i wish i could make them 1/10th as spiffy as yours are. I applaud your work.
pappou
pappou
 
Posts: 269
Joined: Mon Oct 15, 2007 6:27 am
Location: U of Texas @ Arlington (ret)

Re: Updates on The Dauntless

Postby L. DaVinci » Wed Mar 26, 2008 3:17 pm

Well, I spent most of the day dismantling both of the main staircases today, but that's not what took most of my time. Rebuilding the first set of stairs is what took the longest, and only because I accidently resized the stairs and kept working on it thinking that it would still work out. So.. I finally installed the first set of stairs, but it's not entirely complete. Still need to install the railing and then duplicate it for the other stair shaft. In rebuilding this staircase, I think I am, for the most part, satisfied with the work I did on them. Artists and writers can be picky people. Talk to you again soon.
Show Spoiler


DaVinci.

[EDIT] How do you take a picture(save a jpeg) of the 3D workspace in Blender?
Image
L. DaVinci
 
Posts: 41
Joined: Mon Feb 04, 2008 11:43 pm
Location: Arlington, Texas

Re: Updates on The Dauntless

Postby pappou » Wed Mar 26, 2008 4:39 pm

OOOH, that's lookin' good, Leo.
Why put on the railings? All the world (outside of Europe) is far less railing conscious than we are. Just look at how graceful your steps are now, and then how cluttered they will look with all that railing triggerwork.
If you don't want explorers to fall off, just put the old invisible barrier.

As for the Blender pics, the only way i work it is by using PrintScreen. Then with Photoshop i crop the useless desktop parts away and post the choice bits as *.png (if you want to work with it, you can get better reproductions using png than jpg).
pappou
pappou
 
Posts: 269
Joined: Mon Oct 15, 2007 6:27 am
Location: U of Texas @ Arlington (ret)

Re: Updates on The Dauntless

Postby Nynaveve » Wed Mar 26, 2008 5:17 pm

Actually, my argument would be FOR railings. :) This is an airship, so I think the crew would appreciate railings in turbulent winds. I know I would! Hehehe! But you can make them simple, like a graceful bar that curves up with the stairs and only has perpendicular supports in a few places. It should help to keep the beauty of the stairs from being washed out.
Guild of Maintainers Webmystress and Grand Master

Image
User avatar
Nynaveve
 
Posts: 171
Joined: Tue Jan 15, 2008 2:07 pm
Location: One step behind and two steps ahead

Re: Updates on The Dauntless

Postby Paradox » Thu Mar 27, 2008 10:20 pm

L. DaVinci wrote:[EDIT] How do you take a picture(save a jpeg) of the 3D workspace in Blender?


File -> Dump Screen
File -> Dump Subwindow

Either one will work, the first gets the whole screen, the second gets only a subwindow. Play around and you should find the one that gives you what you're looking for :)
Paradox
 
Posts: 1290
Joined: Fri Sep 28, 2007 6:48 pm
Location: Canada

Re: Updates on The Dauntless

Postby L. DaVinci » Fri Mar 28, 2008 10:04 am

Thank you for that tip Paradox, I actually thought about trying those options, but I feared that it might wipe the whole project. I guess I should have listened to myself on that one. heh.

Nynaveve & pappou: Thanks for the help and advice on the staircases. I installed the railings and added a little artistic finesse to the stairs that I would like to show off later, and also the overlook area between the two staircases in the crew quarters hallway has also been altered in a similar fashion. I sent Kato an email to see if I could get a development journal started so that I could explore some ideas with the Dauntless there, instead of cluttering up the General discussion board. So hopefully you will find the continuation of all of this there soon.

DaVinci.
Image
L. DaVinci
 
Posts: 41
Joined: Mon Feb 04, 2008 11:43 pm
Location: Arlington, Texas

Next

Return to L. DaVinci's Journal

Who is online

Users browsing this forum: No registered users and 0 guests