Texturing Questions....

If you feel like you're up to the challenge of building your own Ages in Blender or 3ds Max, this is the place for you!

Texturing Questions....

Postby andylegate » Mon Jan 14, 2008 6:57 am

Okay, this might belong under Building, but since it is directly related to the new Plugin, I thought I'd post it here as many are trying to learn how to use the new plug in.

Since installing the new plugin, I'm having to learn how to texture my Age all over again.

Before, with the old plugin, if I had an object that was going to have different textures on each face, I would select the object (a cube that is now my wall let's say). I would go to the Materials button, and Add New material. Since Plasma would only show detailed textures that are UV mapped, I would then select UV Face on the object, and using the UV editor, I would load up an image I had created that contained a mixture of UV images, since the old plug in would only allow one UV image to be applied. The image would look something like this:

Show Spoiler


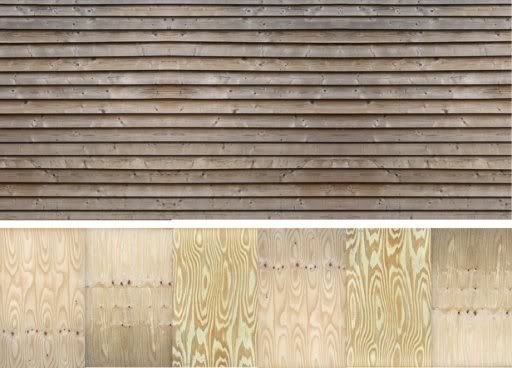
I would then select the faces of the object and tell it to unwrap, and then would select each face that I wanted and map them in the UV Editor window.
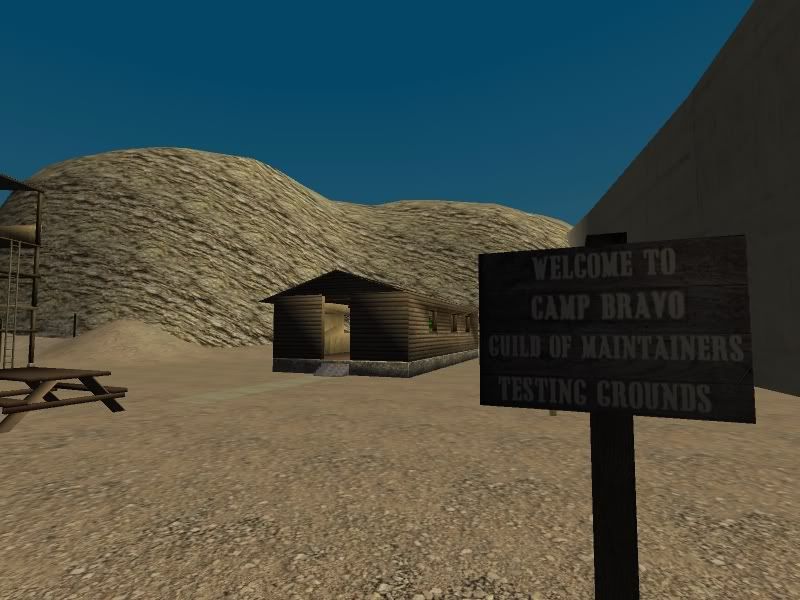
This worked great, in that once the Age was exported, the outside walls would look like siding and the inside part of the walls would look like wood paneling. Like this:

Show Spoiler


Okay, now with the new plug in, I've got a problem. While we can now apply more than on UV image (great by the way!), I have to tell the Map To that I want UV, not Orco. The problem with that, is that I have to now create a texture to do that (Map To tab will not be there without a texture).
If I load my UV image as the texture, when I export the Age, it is ignoring my UV mapping! I get crazy walls that are mixed up and have the image splayed all over the cube.
If I click on New Texture, and don't bother to load up anything, so I can get to the Map To tab, I get solid Grey for my walls....

Okay, so what this shows is that Andy still has to learn how to texture again....... :D
What am I doing wrong? If no one has the time to reply with a blow by blow instructions, that's cool, but some hints here would be greatly appriciated.

EDIT:
It would appear that I answered my own question just now.
I went back an removed my material from one of my walls completely.
I then selected New Material. Changed the color to white, adjusted the specular and Amb to what I wanted. I then IGNORED textures completely, and went straight to UV mapping.
I applied my "skin" and mapped the UV maps.
Exported my Age, and tah-dah, the wall went back to looking like it's suppose to.
"I'm still trying to find the plKey for Crud!"
Image
Blender Age Creation Tutorials
3DS Max Age Creation Tutorials
User avatar
andylegate
 
Posts: 2348
Joined: Mon Oct 01, 2007 7:47 am

Re: Texturing Questions....

Postby Nadnerb » Mon Jan 14, 2008 7:22 am

The multiple materials are not based on the UV face settings, but rather on the material and texture settings. In order to correctly assign multiple materials to a mesh:

First, in UV mode, apply textures to all the faces you want. This will be your UV mapping. (you can use multiple textures here by selecting individual faces before changing the uv image) Once you've got that done, and everything looks dandy in the textured view, go to the materials settings for the object. Set the texture in the material to one of the textures you used while uv mapping. Set map input to UV. Now go to the Editing tools (F9) and hit "new" under 1 Mat 1. It will change to 2 Mat 2. Go back to the materials controls (F5) and look at the texture in your material. Click the number 2 to the right of the texture name in the texture view, and click "single user" in the popup. This will unlink the texture so that you aren't changing your old material's texture too. Now set the material texture image to the second texture you used. Now go back to the Editing tools (F9) and take your object into edit mode. (tab) Select the faces that you want to have this second material assigned to. Now click "Assign". Now those faces will use the second material. If you want to assign the first material to some faces, click the arrow next to 2 Mat 2 to change it to 2 Mat 1. Now clicking assign will assign the first material to the selected faces in edit mode. You can repeat this process (new mat, unlink texture, change texture, assign faces) to add as many materials as you want to the same mesh. You can check your materials by doing a Render, as the material settings are used by the raytracer.
Image
Live KI: 34914 MOULa KI: 23247 Gehn KI: 11588 Available Ages: TunnelDemo3, BoxAge, Odema
Nadnerb
 
Posts: 1057
Joined: Fri Sep 28, 2007 8:01 pm
Location: US (Eastern Time)


Return to Building

Who is online

Users browsing this forum: No registered users and 19 guests