However, while you are striving for perfection, I will tell you that you are doing great for someone who has only really started to get into this! So stop beating yourself up so much. You are making excellent progress!
Now, since you asked, I'll point out a few things, with GUESSES as to what is wrong. However, you are in no way obligated to listen to anything I say, heh.
Let's talk about your shore foam. Hey the water looks great! And I bet once you fix the shore foam things will look even better!
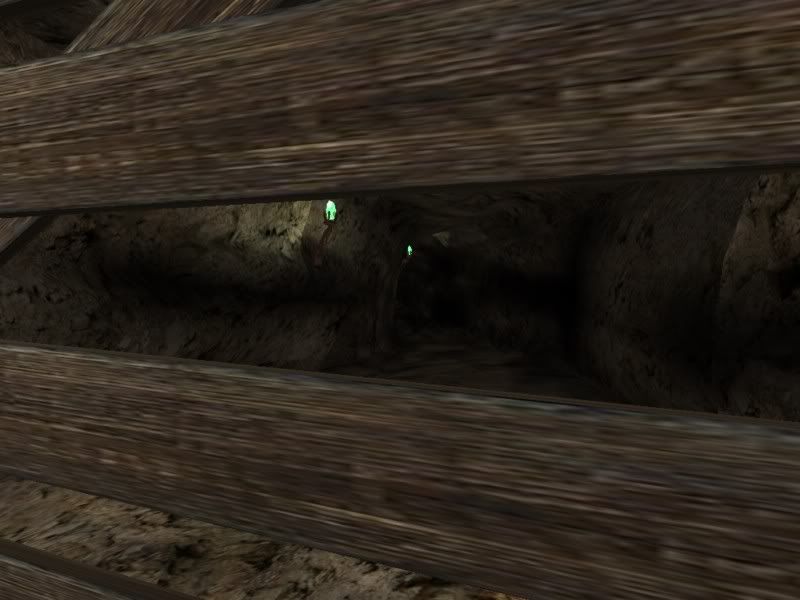
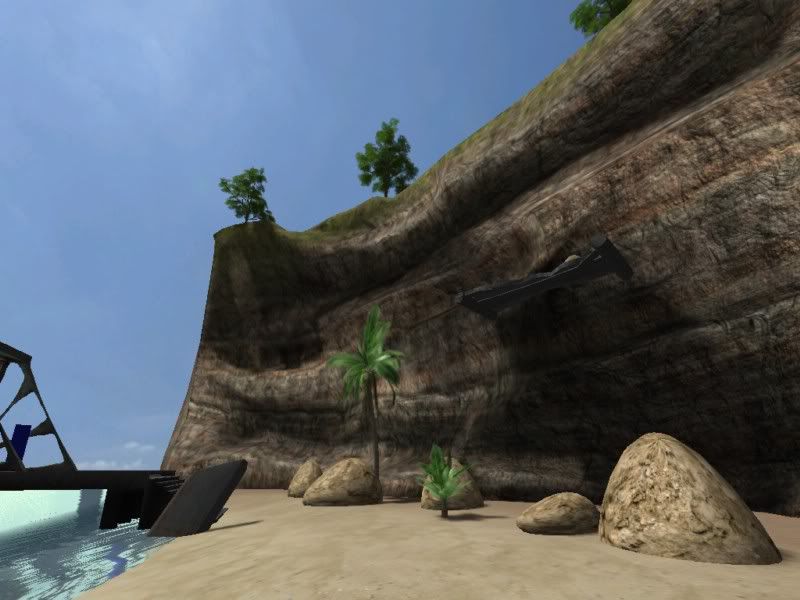
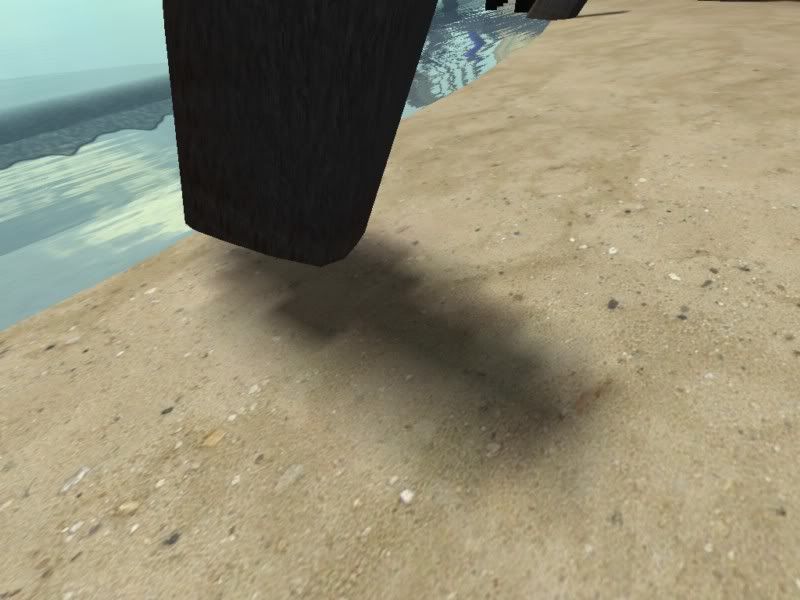
Okay, taking a look at this picture here:
First gut reaction is: your mesh for your shore foam is moved away from the actual shore. At least that's what it looks like here. The problem is: I have no idea what the width of your shore foam mesh is. I could import your Age into Blender and look, and I most likely will.
Let's forget about the fact it's not up against the shore right now, and instead look at what it's doing. It's the wrong color. Rather dark. No problem there, you need to make your material on it Emissive. That way it's nice an bright. That will take care of that.
The other thing I'm seeing is that you need a fall off gradient texture applied to it, so that you don't have that straight line where the foam suddenly ends. You need a gradient texture that starts off white and fades to black. Now Max has these, but Cyan's Plugin get's upset if you use them when you go to export (not sure why). But you can make this type of texture that I'm talking about and use it as your Top Layer with alpha Blending. Just make sure you UV Map it the same as your foam texture. White is where the foam will show, Black will turn it transparent.
Okay, moving on.
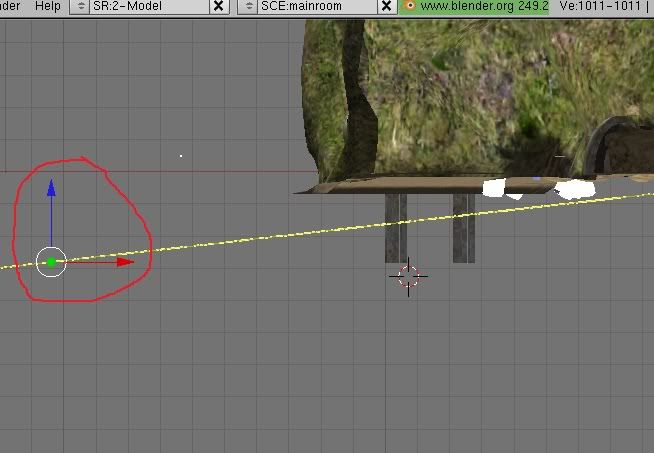
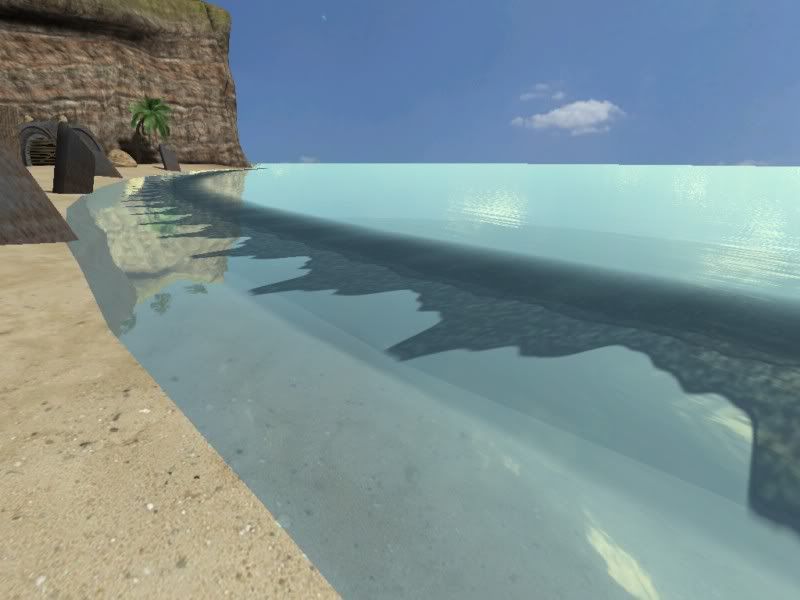
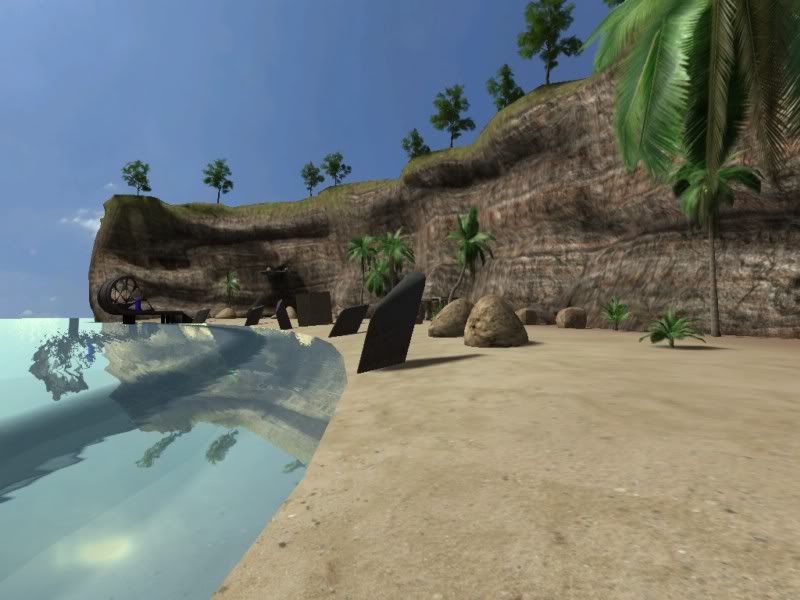
Let's look here:
Just a suggestion but, if you can, it would be better to have the sand rise up gently to the cliff face (that's what it does in RL), and blend into the cliff face. Again, just a suggestion.
Look at your rocks:
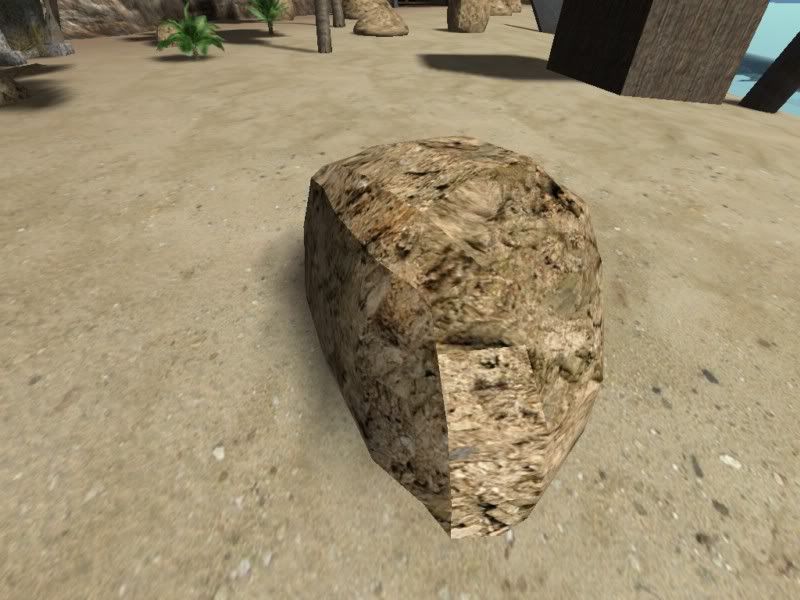
Good textures (I recognize many from Genetica, heh), but you need to take some time UV mapping them a bit better. Can get tedious, I know, but spending the time on it will give you outstanding results.
Edit: Also, you might try adding the "Smooth" component to this rock. It's under New > Render > Smooth. You'd be surprised at how well it smooths meshes out!
Okay, let's talk about your shadows:
You have to make choices here: lightmaps make help make great shadows, but will bloat your texture prp file like you would not believe. Vertex Painting will help so that your texture prp is not so bloated, but when it comes to shadows that you get up close to, like in the pic above, you can see the pixelation of the shadow.
Some cures for this would be:
For shadows that are far and the player can't get close to, depend on the Vertex Painting. The pixilation will not be so apparent.
For shadows that are close, you can try subdividing the faces (so you are adding more and more verticies) in the area that you the shadow will fall on. More verticies means the smoother your shadows will look.
However, be warned: don't go crazy on the sub-dividing! Keep it only to the faces where the shadow will be. Try to find where enough is enough, and not too much. Else you'll get a performance hit in game.
Ah! One last suggestion: Your cliffs look great! (I also recognize that texture, heh), however when you get close they are blurred. This is normal, but you can fix that by using the Detail function in the Materials Editor. Use a 2nd texture for the top layer (that has alpha), that is UV mapped so that it looks great up close, and then use the "Use Detail" part of the layer to set up so that it's rendered when the player is close to the cliff face, but invisible when further away. Cyan used this a lot with places like this (Er'canna cliffs and ground. The Cleft's ground, etc).
Over all, like I said, quit beating yourself up! You are making excellent progress! You are already doing much better than I was when I first made Zephyr Cove (and I had been at this for 6 months before I made Zephyr!).
Speaking of which......when I linked in and wandered around, I got a really strong sense of Deja Vue! hehehehehehehehe
Oooooo. this looks promising!