Atheni33 wrote:Ah.. so parallel projection is a method of projection a 'placed' texture image outward in a fixed parallel path.
Exactly!
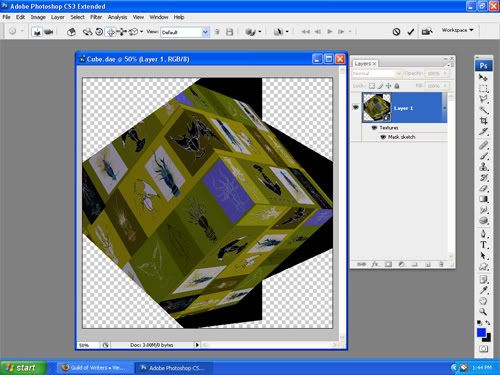
Atheni33 wrote: Does that mean you can only see that image from the view it was placed? If I were to use PP for a cube I couldn't see the side because the side are not parallel to where the image was placed nor are they wrapped. The front is the area the texture was place and the back of the cube is where the image is hitting or being projected on, like a film projecting a movie onto a screen. Ah.. I can see the use of this method, if you have thousands of faces on a model but it's not necessary to view all sides of it, this could save render time because your not UV mapping the entire model. So for example If I were to render an elaborate city scape in the far horizon but it wasn't reachable (for some reason) I wouldn't have to UV map the entire city I could simple use parallel projection. :D
Not quite. It *is* like projecting a film, but it projects all the way *through* the cube, so you get the exact same image on the back of the cube as on the front, although if you walk around the cube and look, it will of course be mirrored, seing as now you are facing the camera, rather than sharing its vantage point, as you did at the front.
On the sides, which are perpendicular to the projector, you'll get the pixels at the outer edges (or more spcifically the coordinates on the texture that falls on the cube edge) streched out infinitly, resulting in parallel lines from front to back.
This is, of course, if you parallel project upon the entire cube all at once - nothing stops you from unwrapping each side separately.
Atheni33 wrote:I Just got the 2.47 upgrade. I did notice a few options are either gone or moved. Very confusing for someone learning blender. I'm definately going to check out those tutorials you mention. I don't know why but I'm having a hard time getting blender to wrap things the way I want it. I can wrap something once, but if I want to adjust the position of my texture I have to go out of edit to object mode then back into edit mode to get my texture to render.
Aah, this is where the bit Nal...Nalates ( ?, I have apparently MISread it as Natales up 'til now :P) mentioned, gets into play:
When you select a face in the 3D view, its corresponding projection (yes, I am doing the concept in reverse here), onto the texture, shows up in the UV/ImageEditor, where it can be moved around and transformed. Just like you can move a vertex around in the 3D view, you can move the corresponding vertex on the UVmap, in the UV/ImageEditor.
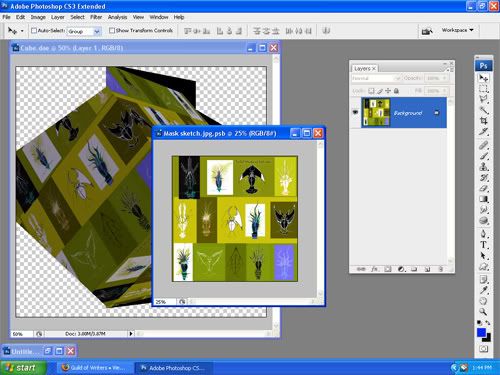
Set up your GUI so that you have both a 3D view showing the mask and a UV/Image editor showing the texture.
Now go into the menus of the UV/ImageEditor and make sure the item "UpdateAtomatically", under the "View" menu, is ticked -- this will make any changes you make to the mask's UVmap (in the UV/ImageEditor), show up immediately in the 3D view.
Select all faces in the 3D view.
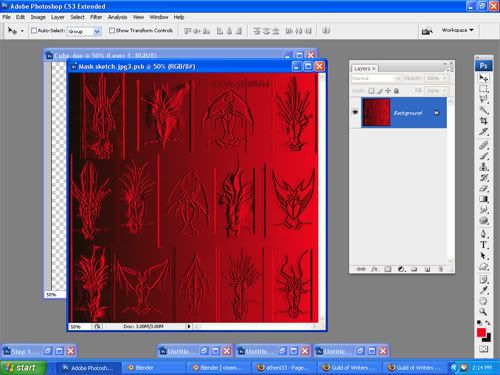
Now all corresponding faces should appear as a mesh overlayed onto the texture in the UV/Image editor. (assuming you have previously unwrapped the object)
(Note that you need to select a texture, using the selector button in the UV/Image editor), or no texture will show up in the view. [the texture you select here is only for the editing, not the final output])
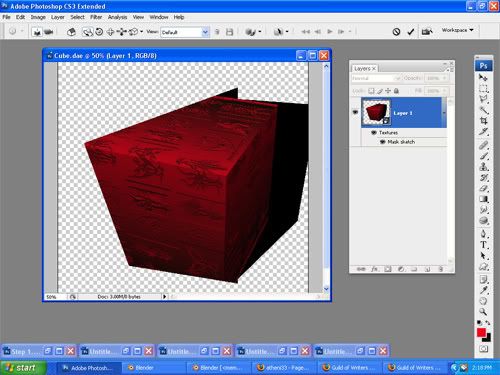
Now you can deform that mesh (which is the UVMap), selecting, moving, scaling, rotating, mirroring vertices in the UV/Image editor, in the precise same manner as you do with the model in the 3D view, only 2D.
If you want to pin the tip of a horn/wing/whatever on one mask to a certain texture pixel, maybe within a patch of enamel that has not yet peeled off; figure out which vertex in the UVmap is the same as the tip-of-the-horn vertex on the actual model, then grab it and move it to the pixel in question.
(I often do this by shift-deselect/reselecting a vertex in the 3D view and watch the UVMap for any vertex blinking out- and back in of existence.. :7)

 Nalates - Guild of Cartographers